Expert Author: Joe Natarelli — Owner & Construction Supervisor — Licensed Massachusetts Roofing Contractor — License ID CSSL-099659
How to Stop Ice Dams on Your Roof: Short-Term Fixes & Long-Term Solutions
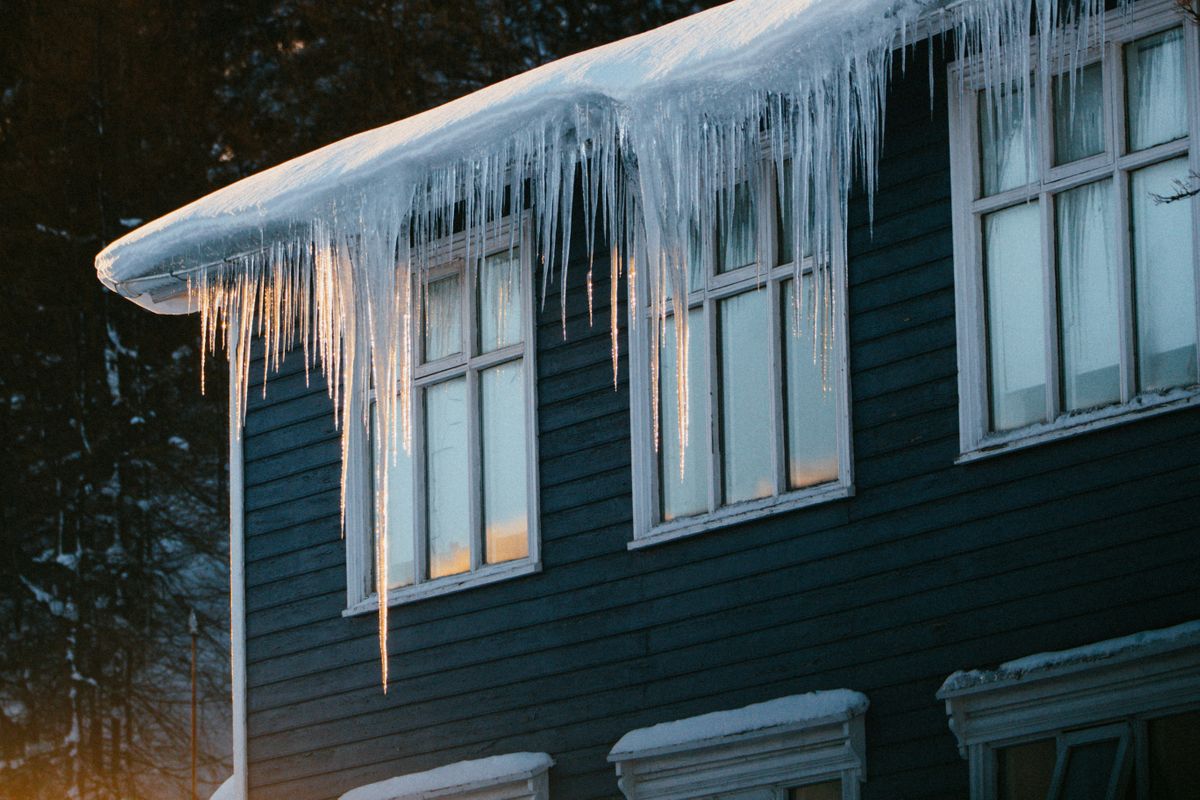
Ice dams are a major headache for New England homeowners during severe winter weather. An ice dam forms when warm air escapes into your attic space, heating the upper section of your roof deck. Snow on the upper roof melts, runs down to the cold eave overhang, and freezes. As ice builds up along the edge, trapped water pools behind it, eventually forcing its way under shingles and causing severe water damage to ceilings, walls, and insulation.
Stopping ice dams permanently requires keeping your roof deck cold and ensuring water can properly drain off your home. Below is a complete guide to managing emergency ice dams and preventing them from returning.
Part 1: Immediate & Emergency Ice Dam Actions
If you currently have ice dams forming along your eaves, taking quick action can help prevent interior water intrusion before professional repairs are made.
- Rake Snow Off Roof Edges: Use a telescoping roof rake while standing safely on the ground to clear the bottom 3 to 6 feet of snow from your roof eaves and valleys. Removing the snow eliminates the meltwater that feeds the ice buildup.
- Create Drainage Channels: Fill a long sock or pantyhose with calcium chloride ice melt (avoid rock salt, which damages shingles and corrodes metal). Place it vertically across the ice dam so it overhangs the edge to melt a channel for trapped water to escape.
- Professional Steaming: Avoid using axes, hammers, or pressure washers, which can easily puncture frozen shingles. Professional steam equipment gently removes ice blocks without damaging your roofing system.
Part 2: The Permanent 3-Step Prevention Strategy
To prevent ice dams permanently, you must address the root cause: warm indoor air heating your attic space.
1. Air Seal the Attic Plane
Air leaks around recessed lighting, top plates, chimney chases, and attic hatches account for most heat loss. Sealing these gaps prevents warm air from rising into the attic and warming the underside of your roof deck.
2. Upgrade Attic Insulation
Proper insulation keeps heat inside your living space where it belongs. Bringing attic insulation up to current code standards (R-49 to R-60 in cold climates) keeps the attic ambient temperature close to outdoor temperatures.
3. Ensure Proper Attic & Roof Ventilation
A balanced system of continuous soffit intake vents and ridge exhaust vents sweeps away lingering heat and moisture. Proper airflow maintains a uniform roof temperature from peak to eave.
Part 3: Roof Defense & Water Protection
When it comes time for a complete roof replacement, installing proper underlayment serves as your ultimate defense against winter weather.
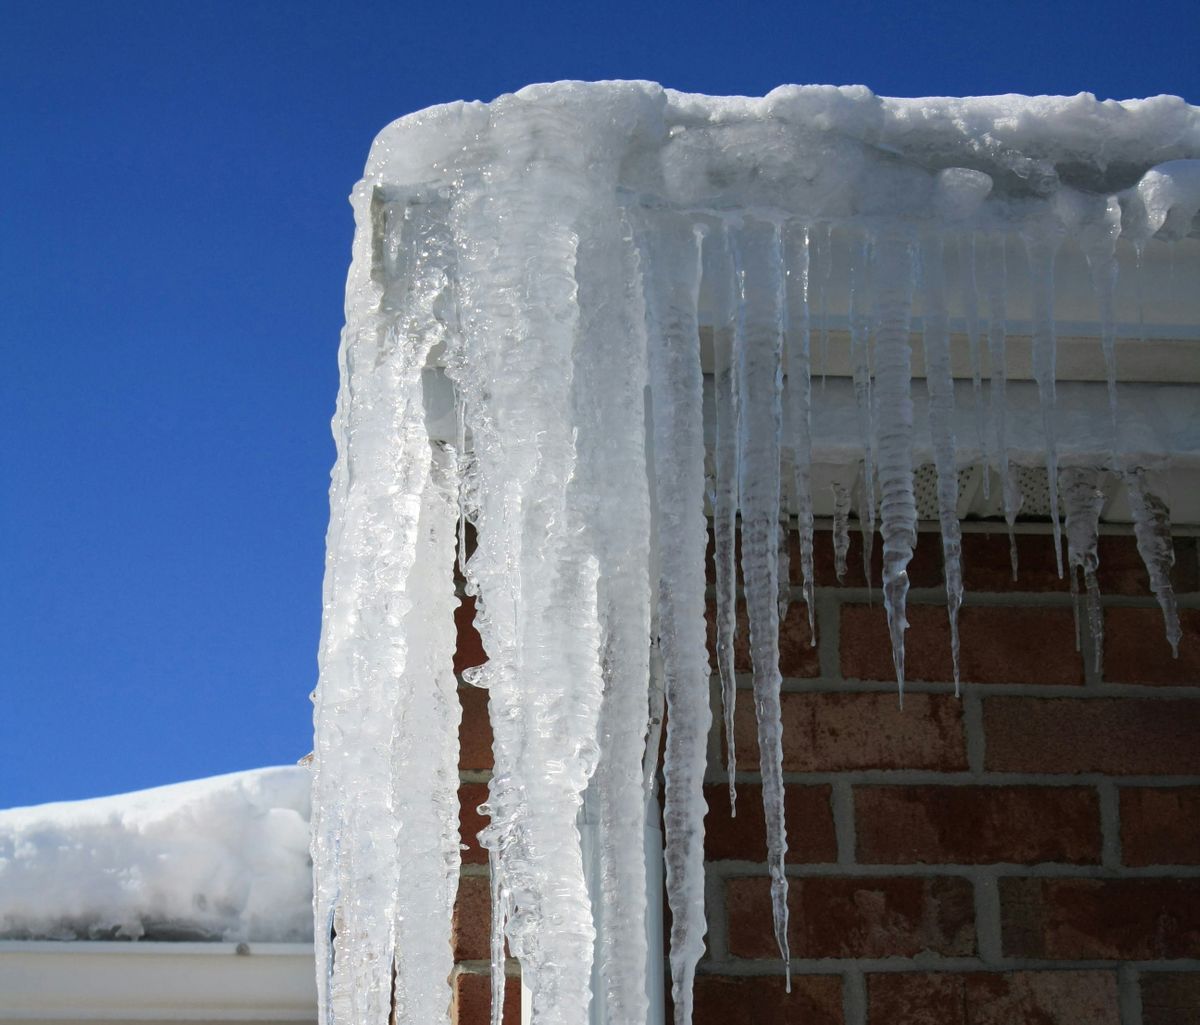
- Ice & Water Shield Underlayment: Local building codes require a waterproof, self-adhering ice and water membrane installed along all roof eaves, extending at least 24 inches inside the interior warm wall line. In high-risk areas or low-slope roofs, extending this barrier higher up the roof deck provides critical leak protection.
- Gutter Maintenance: Clogged gutters don't cause ice dams on their own, but trapped debris prevents melting water from draining properly. Upgrading your drainage with professional gutter installation or adding high-performance gutter guards ensures water flows freely away from your home's foundation during freeze-thaw cycles.
Frequently Asked Questions About Ice Dams
What causes ice dams to form on a roof?
Ice dams form when warm air escapes from the living space into the attic, heating the upper roof deck. Snow on the upper roof melts, flows down to the cold eave overhang, and freezes. As ice accumulates at the edge, melted water pools behind it and can back up under shingles.
How do you stop ice dams immediately in an emergency?
For immediate relief, safely rake snow off the bottom 3 to 6 feet of your roof edges using a telescoping roof rake. You can also place a nylon sock filled with calcium chloride ice melt vertically across the ice dam to melt a channel for trapped water to escape.
Should I use rock salt to remove ice dams on my roof?
No, do not use rock salt (sodium chloride) on a roof. Rock salt damages asphalt shingles, corrodes metal gutters, and harms surrounding plants and lawns when it drains off.
How do you permanently prevent ice dams from forming?
Permanent ice dam prevention requires a three-step approach: air sealing attic leaks to stop warm air loss, upgrading attic insulation to current code standards (R-49 to R-60 in cold climates), and ensuring balanced soffit and ridge ventilation to keep the roof deck cold.
How does Ice and Water Shield underlayment protect against ice dams?
Ice and Water Shield is a self-adhering waterproof membrane installed along roof eaves during a roof replacement. It seals tightly around nails and prevents standing water behind an ice dam from penetrating the roof deck and leaking into the home.
Need Professional Roof Inspection or Winter Protection?
If your home is experiencing winter roof leaks or you want to evaluate your roof's ventilation and weather resistance, contact our local team today for an evaluation.